
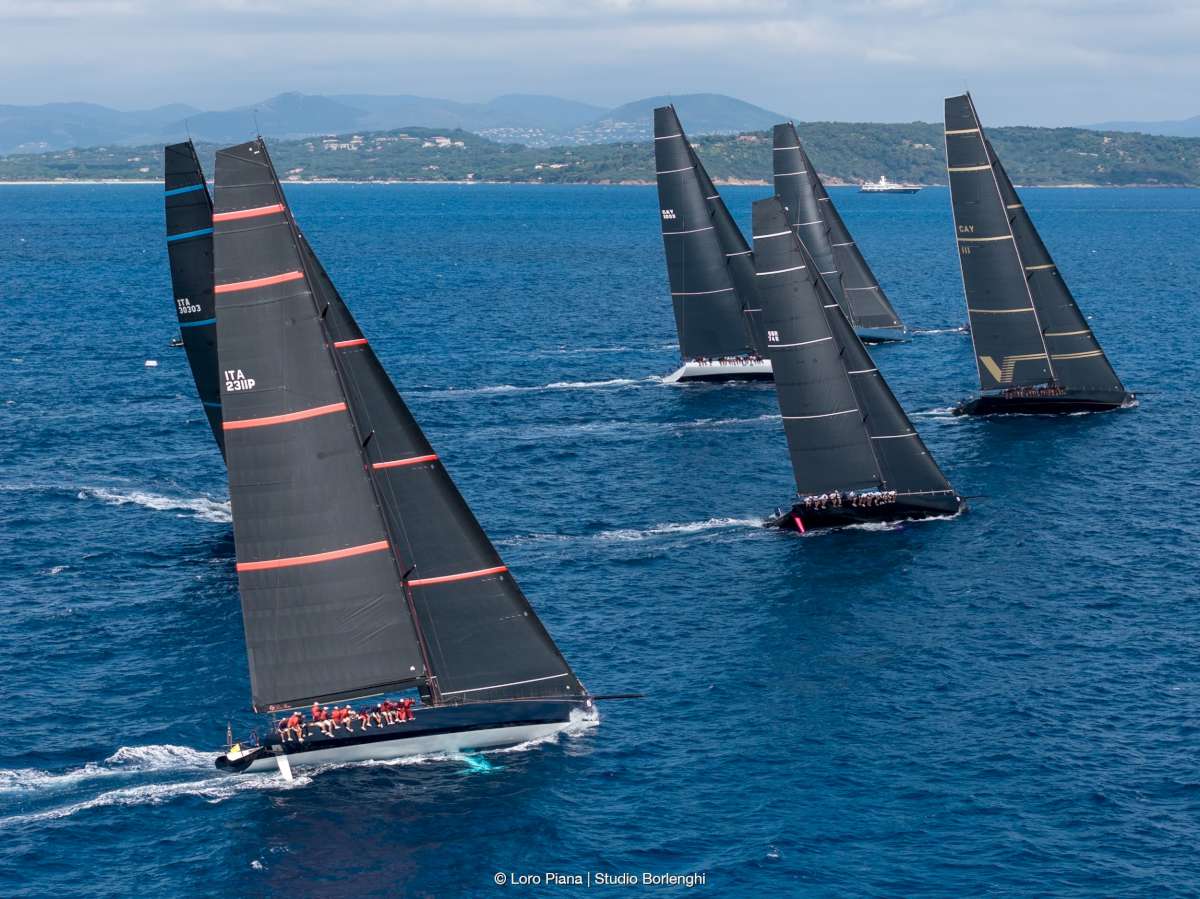
We all know that instrument calibration is important for quality data on board. Many times however this task falls by the way side, in favour of rig tuning, crew mechanics training and boat maintenance.
In this two-part guide we will show you how and why you need to calibrate your instruments to give yourself the best data possible. Having great data will give you confidence in your decision-making process.
Primary Sensors
The primary sensors measure the variables that contribute the most to our instrument system; they feed into most calculations within the system software to give us all the data we need. Some measured variables contribute more to the calculation than others. These are called the primary variables. Secondary variables only provide a direct reading to the displays.
The following four sensors read the primary variables that contribute the most to the system;
-
The compass, most likely a fluxgate or rate gyro type, giving heading (HDG);
-
The log, either a paddle wheel or ultra sonic type, giving boat speed (BSP);
-
The mast head unit or wand, giving apparent wind angle (AWA) and apparent wind speed (AWS);
-
The GPS giving course over the ground (COG) and speed over the ground (SOG).
To get the best performance out of the system we must calibrate these correctly before any of the derived variables will be accurate. Some higher-end systems that apply motion calculations to wind speed and direct use a variable called Measured Wind. In these systems apparent wind is a derived variable, calculated to negate the effects of motion.
Secondary sensors
Secondary sensors measure other variables that provide useful data but do not influence any derived variables, except in some high-end systems. Therefore, whilst important to get right, they can be left till a convenient time to calibrate without influencing other variables.
-
Depth (DPT) – measured by the sounder;
-
Rudder angle (RUD) – measured by a rudder angle sensor, or potentiometer;
-
Forestay load (FSY) – measured by a load cell,
or sheer pin; -
Heel (HEEL) – measured by a gyro or an inertia moment unit (IMU);
-
Linear inputs such as a stringpot for rake or deflectors.
Derived variables.
The main goal of any system is to give accurate tactical data to the navigator, tactician and trimmers. The data they typically want is true wind data, apparent wind data, and tidal flow values. Only apparent wind data can be read directly from the sensors. Unless we perform some calculations we cannot measure true wind or tidal flow. The following variables are the ones that tacticians and navigators are most interested in:
-
Tide (SET, DRIFT), calculated from the vectors
of BSP and HDG vs SOG and COG; -
Course (CRS), Calculated from HDG + leeway;
-
True wind (speed, angle, and direction), calculated from the BSP and HDG vs AWS and AWA vectors.
Only once the primary measured variables are calibrated can we trust and refine the above variables.
We will look at these in more depth in part two.
First steps of good calibration
1First we must calibrate the primary variables; no
other variables can be accurate without these also
being accurate.
Start by calibrating your compass, which is the sensor responsible for heading (HDG). Most systems calibrate the compass by way of a compass swing, this is usually done by starting the calibration and completing a full 360-degree circle. Generally a rate of turn of around 1.5 degrees per second is required, so the whole process should take around 4 minutes. Once complete your instruments will display “complete” or “calibrated”
or something similar.
Compass calibration should be done every time something magnetic on board changes location or something new is added. Electrical items like TVs, HF radios etc have lots of magnetic interference. If you remove the HF radio for inshore racing, then the compass must be recalibrated every time the HF radio is removed or reinstalled.
When the calibration process is completed take some sights with a handheld compass at various headings. Look for any variation between the boat’s compass and the handheld compass. Often there will be a consistent variation in headings because the instrument system compass was slightly misaligned when installed. This offset can be entered as a calibration figure into the system. Make a good note of this because the variation will not change over the course of the season. The manual usually has a good place in the back to record these calibrations should the stored value in the system be lost.
2Next we move on to boat speed. To do this we undertake calibration runs over a known distance. The ideal distance is a measured mile, but it can be any accurately measured distance. Accurately measured distances are often marked on charts (see figure 1).
Once the calibration runs are complete, the tool will give you a result in either a percentage (as with B&G’s H5000 system) or Hz/Knot value (as with the older H3000 system).
If the result passes the “looks sensible” test, then apply it to the boat speed calibration in the system.
3Apparent wind speed and angle are typically calibrated at the factory. Often when true and apparent wind speeds look wrong it is due to wind gradient. Remember that the wand only measures wind speed at the top of the mast, not where you are standing on the deck. Often a building sea breeze will have a significant wind gradient.
It is also important to remember that you feel wind pressure on your face, not wind speed. Wind pressure is a combination of the air mass density and the wind speed. The density is dramatically affected by the air temperature and humidity. It is most commonly observed by those who travel north for the winter, who will notice that a 20 knot Melbourne southerly is considerably more powerful than a 20 knot Whitsunday south easterly trade wind.
If your true wind speed looks wrong, first check your apparent wind speed. If that seems correct then it’s likely a calibration issue with your boat speed and/or heading. Remember, true wind data is derived from these measured variables. If the apparent wind speed looks very wrong then contact your instrument dealer who can inspect the wand for defects.
The only calibration that should be required for apparent wind is the masthead unit (MHU) offset or alignment. This is a value that corrects misalignment of the wind angle read by the wand. To calibrate this start sailing upwind close hauled. Sail to the tell tails – the trick here is to keep the helmsman focused on the tell tails and not the instruments. Note the apparent wind angle and then tack. Ensure you have the same setup on the new tack and sail to the tell tails again. When everything is settled down, note the apparent wind angle again.
After a few tacks you will begin to notice that one tack will have a tighter wind angle than the other. This is caused by the MHU misalignment. You will want to apply an offset to the MHU to correct this. Remembering that the correction affects the value on both tacks, you will halve the difference between the two. Rotating the MHU to starboard is a positive value, to port is negative.
For example, imagine the port tack is reading 6 degrees higher with an apparent wind angle of 27 (closer to the wind) than starboard tack, which was reading 33. You need to rotate the MHU to starboard by half of the difference (3 degrees) to increase the port tack angle to 30 and decrease the starboard tack angle to 30. (See figure 3)
4GPS data comes directly from the satellite receiver and requires no calibration. The only thing to check here on a typical system is that the GPS is sending course over ground as magnetic or true to match the way the instruments are setup.
Calibration of secondary sensors
Depth (DPT)
Depth can be read from either the water line, or the underside of the keel. There are advantages to both, but both require a depth offset to be entered. Un-calibrated the depth reading will be from the transducer position, typically located in the hull bottom just forward of the keel. If you want your depth to show from the waterline enter a positive (+) offset in to the system that is the vertical distance from the transducer to the waterline. Likewise for depth to the underside of the keel, enter a negative (-) offset into the system that is the vertical distance from the transducer to the bottom of the keel.
Rudder angle (RUD)
Boats with an autopilot fitted need to have the rudder angle indicator calibrated before the autopilot can be used. The system will have a calibration function for this within the menu structure. Often this will involve turning the helm hard to port, followed by hard to starboard, and entering the known maximum rudder angle.
On systems without an autopilot, a rudder angle indicator can be useful for determining balance. Sailing with too much rudder angle is slow because the rudder is being dragged through the water. Too little rudder angle means the helmsman will not have any natural feel. Often rudder angle on race yachts is measured using a stringpot connected to a lightweight quadrant on the rudder stock. To calibrate this measurement two known rudder angles are required. Measure the voltage at known position one and again at known position two. Enter these values in to the linear input the stringpot is connected to within the system. The system will then determine the rudder angle using a linear interpolation from the two know positions.
Forestay load (FSY)
Forestay load pins, or sheer pins, must also be calibrated. These are not easy to calibrate, and must often be sent to a specialist for proper calibration. Sheer pins also require a voltage amplifier to amplify the millivolts from the sheer pin into something more readable by the system, normally 0 – 5volts. When the sheer pin and amplifier come back calibrated they will have a certificate that will give the calibration load and amplified output values. Enter these in to the system as a linear input.
Heel (HEEL)
The calibration for heel sensors such as gyroscopes or inertia moment units (IMUs) is usually very basic. The only calibration needed is generally an offset value so that when the boat is upright the heel value displayed is zero.
Some grand prix boats now use a variable called heel delta, which is the difference between the target heel angle and the actual heel angle. This requires a system capable of storing a target heel polar, or using tactical software such as expedition to output the value to the instruments. Using heel delta means that the crew can focus on just a single number without needing to do any maths in their heads. The crew always aims for zero, with a negative heel delta meaning the boat it under heeled, and a positive meaning over heeled.
Summary
Getting the basic calibrations right takes time, but is well worth the effort. A simple error in the calibration of a primary sensor can throw out the whole system. The holy grail of any instrument system is to give us accurate true wind data quickly without having to remember multiple numbers from tack to tack. This in turn will help the trimmers make better decisions about sail selections, and tacticians make better decisions about which way to go.
Next issue we will look at more advance calibration to help achieve that goal of true wind angles and direction.
– Ross Vickers


