
Photography in the digital age is an open and virtually endless topic, or series of topics. In this piece I will not attempt to cover the enormous breadth of the subject matter but rather stick to aspects of travel photography, a genre that most of us pursue. I will also limit my observations to what I hope will be useful, practical and not-too-technical tips.
Travel photography forms part of the narrative record of a journey, whether that be a circumnavigation of the planet, or a trip to the zoo. The record itself may simply be for your own personal satisfaction, or for a broader audience. It may be for a magazine, such as our worthy CH.
Whatever the circumstances of the trip and the purpose of the record, the important aspects of travel photography remain the same.
You will need to take with you the appropriate equipment, you will need to know how to use it and you will need to be in the right place at the right time.
Most importantly, you will need to have a plan.
Choosing the subject
Your objective is to make a series of photographs that tell a story, possibly to complement your text.
The starting point should be to make a shot list. When sitting down to write an article most people will start by listing some broad structural headings and sub-headings, so do the same thing for the imagery.
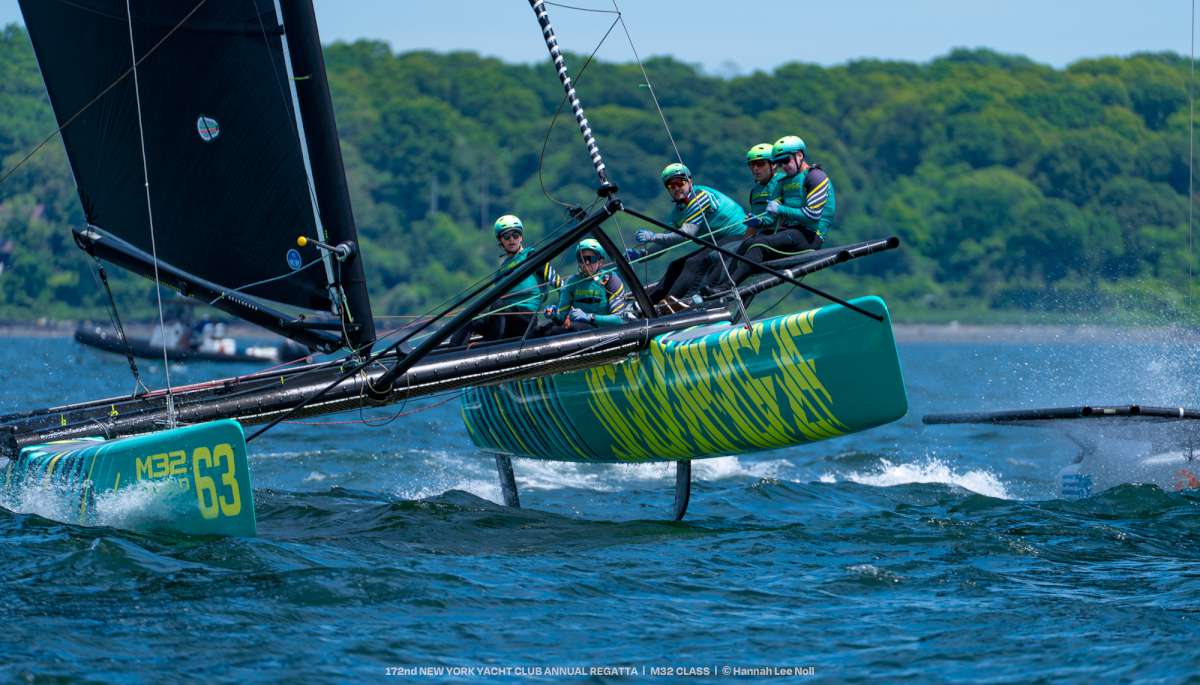
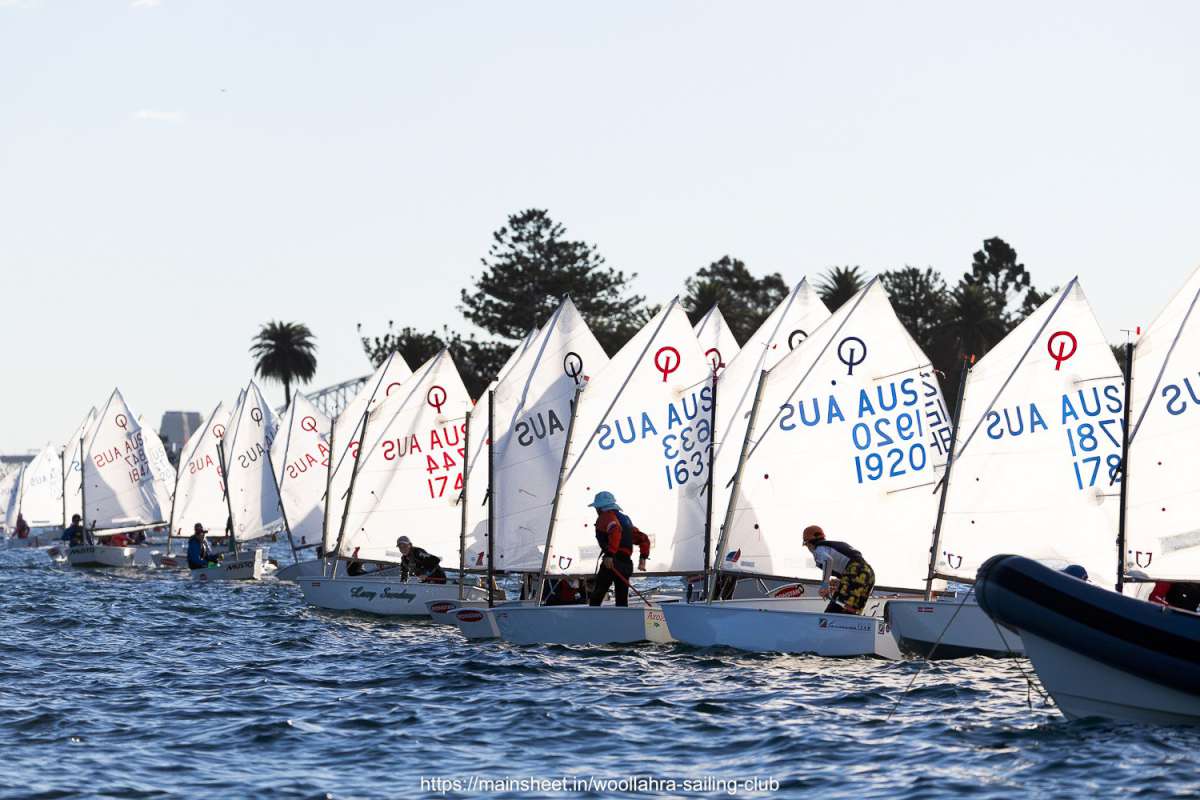
You know what the objective is, so think about the subject matter that would be relevant. If we take a destination piece as an example you will want a scene-setting image, most probably one of your best images. You will want some with people and, for a cruising piece, certainly some with boats. A mix of long, wide and close-up shots also adds both variety and interest.
Do not worry if you don’t get everything on your shot list. The fact that you had one, with a structure underlying your shooting, will generally ensure you finish up with more than enough imagery for your story.
Camera controls
There are three key controls in photography.
Shutter speed controls the amount of light let in through the lens by adjusting the time the shutter remains open when you take a shot.
Aperture controls the amount of light let in through the lens by adjusting the size of the opening. It also affects the ‘depth of field’ or depth of the subject apparently in focus in your image, so it is also a creative tool.
ISO controls the light sensitivity of the camera sensor, which is the bit that captures and stores the light data let in through the lens. The higher the ISO setting the more sensitive the sensor becomes to light and therefore the more data it can capture in low light situations. The trade-off is the higher the ISO the more ‘noise,’ or grain in the old terminology, will appear in the finished image.
All of the camera controls are relevant to the amount of available light and must be set having regard to it. You will need a shutter speed fast enough to ensure your image is not blurred by unwanted camera shake. Aperture should be set to achieve a desired ‘depth of field.’ ISO tends to be the fall-guy; if you cannot get a required speed/depth of field in a given light, increase the ISO; at least to within acceptable levels of ‘noise.’
Light
It used to annoy me in my early struggles with photography when the experts kept carrying on about the light. I would think “well, the light is what it is and you just have to put up with it.”
Now I understand that what they were really talking about is not the ambient light but the light that is reflected from your desired subject.
We could talk about technical aspects of light, its three properties: colour, quality and direction and so on for a long time. I think the best advice I can give in this space is to encourage you to look at the light reflected from your subject and look at the light behind and around it. Find a position from which to shoot that puts the subject in the best, or most creatively desirable, light. More often than not that will be with the light directly on the subject, so that the subject is the thing to which the eye is drawn in the frame. But explore a little, it is fun to be creative with light. Make it a part of your storytelling.
The other thing to do of course is to choose the light conditions that are more likely to produce great pictures. Early morning and dusk, when the light is softer and the angle is more interesting, are the best times to be out and about.
Composing the image
Another big topic, but here are a few ideas to consider.
First, make sure your subject is obviously the most important thing in the image. That does not mean it has to be in the middle every time, in fact offsetting the main subject to one side or the other often works better; but it must be clearly the subject.
Second, look to include elements in the frame that add to the story and try to keep irrelevant or confusing elements out. Keep backgrounds clean, especially in portraits. Move around, even up or down if necessary, to get that result.
Look for lines that draw the eye into the image and its main subject. A ‘line’ is anything that leads, usually from the image border, into the subject.
Without getting cute, try to incorporate aspects such as repetitions, patterns, shapes and/or colours that create both interest and balance in an image.
Equipment
Fear not; this will be brief, if not painless.
Equipment comes in all sizes, weights and price ranges. An expert shooter once told me that the best camera is the one that you have with you. It is important that the equipment you choose is what you feel comfortable with, and that you are prepared to lug around, come what may.
Cameras for travellers can be put into three categories: compacts, mid-size, and digital single lens reflex (SLRs).
A quality compact will capture good images when the conditions for which it is designed and programmed are suitable. Outside its range it will struggle.
Mid-size digital cameras are relatively new, although they often have a ‘retro’ look and feel. The best of them are capable of producing professional quality images through a range of conditions. The quality end in this category will have changeable lenses and will be at the top end of the pricing spectrum.
Digital SLRs give the photographer the most control over the process, can cope with a far greater range of conditions and, potentially, will provide the best quality outcomes of the three types.
However, there are enormous quality differentials between DSLRs, far too many to canvass in this piece. What I can say though, if you want to go down the DSLR path (if you are serious about photography then you probably should), is to look at the lenses when you buy a camera. Do not get carried away with the range of focal lengths a lens may boast, what is important is the quality of the build and glass, that is what will give you sharpness and the ability to capture quality images in difficult conditions.
My advice to new entrants to the DSLR market is always this: choose your brand (the top ones are all good), then work out what price range you want to start at for a camera body, then add one or two high quality lenses. A few years down the track you are likely to have traded up the camera body scale, but those lenses will last you decades.
Quality lenses, unlike camera bodies and high-volume mass-produced ‘kit’ lenses, do not get relatively cheaper over time.
A brief word on DSLR camera bodies. It is not important how many programs and functions a camera can deliver, what is really important is the quality of the sensor. This is the high-tech bit of gear that captures the light when the shutter is opened and which records that information digitally.
In general, sensor quality improves as you move up the price scale but it is also quite common that manufacturers will use the same sensor in a range of cameras at different price points. It is far better, in my view, to have the camera from the cheap end of a given high quality sensor range, than a camera at the pricey end of the lower quality sensor range.
Okay, you may need to do a bit of homework here, but it is not too difficult to suss out. It is also true, when it comes to sensors, that size does matter. Bigger sensor, better quality.
Tips and traps
There are a few simple things we can do to improve our images and there are some traps we all fall into, which are easily avoided once we learn to see them.
The subject is too soft and out of focus: while not everything in every image needs to be in focus, the key element(s) in the photo must be. In a group shot it will be the faces; in a landscape/seascape is is usually the first bit of important foreground subject; in a close-up portrait it is the eye nearest the camera.
Getting the focus correct is one of the more difficult things to achieve in photography, but it is also absolutely critical to getting a good result.
The best advice I can give here is to read and then reread, the manual that comes with your camera. Focussing systems differ from brand to brand and even within brands, so understanding your camera’s approach is vital.
Most cameras and lenses have an autofocus system, which work well most of the time but even the very best of them are not infallible.
You will get better results if you set up the camera and lens for the particular style of imagery you are doing. For example, spot focus may be useful in some situations but it will not serve you well in many others. Your manual will explain all this.
Similarly, many new ‘smart’ systems, like the ones that identify faces and focus on them, will not always give a smart result. My preference is to avoid using those types of uncontrolled systems but if you find that your camera gives good results via that approach in some situations, then by all means use it.
If it does work for you it takes out one of the variables and allows you to concentrate on other aspects of capture.
The ‘backlit’ people shot: you finally manage to get the group assembled and the background, probably the sea and/or the sky, is so much lighter than the people. Most light metering systems will take into account the overall light and not just the light on the group, leaving them underexposed looking dark.
There are two solutions, assuming you wish to retain the background. First, you can deliberately overexpose the overall image in order to correctly expose the relevant subject. It is usually quite easy to dial up a ‘more light’ option on the camera. Or you can meter it on auto and then shoot in manual, allowing a bit more light in through a slower shutter speed or bigger aperture setting.
Second, you can add a bit of artificial light, or fill flash, to the foreground subject. In this scenario even the on-camera flash can do the job nicely. Normally not a good option as direct flash often produces flat images and harsh background shadows, but in this case typically only a very small amount of flash is needed and there is no background within range for it to create a shadow.
You will need to know how to dial up and down the amount of flash for your camera, and shoot in manual on a relatively slow shutter speed (say 1/60th) to allow sufficient background light to be recorded.
The not-enough-light scene: inside a bar at night, around the table at a restaurant, or in the saloon on your boat is a great shot waiting to be captured. But the light is low and your camera tells you it will shoot at 15th of a second, you know that will give a blurry image due to camera shake.
First option, increase the ISO. The great advantage of the digital camera over film is that you can automatically increase the light sensitivity of your capture media ie. the sensor. The downside is that more sensitivity also means more noise in the image. Some cameras deal with this situation better than others, but there will always be a limit to what can be achieved while still getting the quality you desire.
Second option, add some artificial light. On-camera flash will rarely give you a good result here. If you can get it off-camera, either on a lead or connected wirelessly, you can achieve a much better outcome. If you can point the flash at some large, flat, light coloured surface that will bounce the light onto your subject, your chances are greatly improved. The large surface softens the light, the bounce angle gives it a more interesting direction and, provided the surface is white or a light neutral colour, it should not create offensive colour casts in your image. A moveable light source also allows you to be innovative.
The third option here is to secure the camera at the time of shooting. If you do not have a tripod in your back pocket you may be able to get away with setting the camera against a solid surface. If you also use the self-timer (set to, say, two seconds) that will avoid the jerkiness that usually occurs in these situations as the button is pressed.
The ‘ugly growth’ shot: you are looking at your images and you see it … the telephone pole growing out of the back of the subject’s head. And it is always your otherwise best shot.
The solution is simple: do not take that shot. Be aware of the surroundings, move the subject or move yourself so that the composition is clean. Of course you have to be looking for it in the first place and that is the trick. Look at everything in the frame when you are composing the image.
Crooked horizons: a cruising image will invariably include a horizon. If this is something like the sea that is straight, then it must be so in your photo. Yes, it can be ‘fixed’ in post-production, but then you run the risk in doing so that some part of the subject is lost being cropped out in the straightening-up process.
Getting them straight when shooting is simply a matter of paying attention to the horizon when composing the shot and adjusting as necessary. Once you have done it consciously for a time you will find it happens automatically thereafter.
You missed it: do not worry, we have all missed the shot of a lifetime. I have missed at least a dozen. What to do? Move on.
You cannot go back, but you can learn from what you did not capture. Have a think about what went wrong. Did you not have the camera handy when you should have? Were you not paying attention to the light? Did you have your camera with you but set on the wrong settings and by the time you changed them the thing was gone?
This is where planning plays an important part. If you proceed always with intent, with your shot list in mind and your sub-conscious at least aware of what might conceivably be coming your way, then you will be ready.
Another small thing, always have the camera settings set to the light conditions you are in or which you can anticipate for the shot you might be taking.
Finally, always be looking but also, always be seeing. So often photographers (well, people with cameras) are seen shooting the pants off a sunset when the real image is behind them. Look at where the light falls, and see what you see.
My prints are always dark and muddy: I have not touched on processing, that important step in digital photography that happens in the computer after capture. It really is a big subject on its own but I will mention this: the dark print. Usually it is a function of the difference in the way computer screens and printers deal with light.
Screens will almost always appear much brighter and so processing to a given outcome on the screen will produce a different and typically darker, print outcome.
There are some sophisticated steps that a professional photographer will take in this situation, including calibrating the monitor, ‘soft proofing’ via Photoshop and inputting the particular printer’s profile into his computer.
I am not suggesting you must do any of that, although a good quality screen and a simple calibrating device will do wonders. What you can do is try a few things if this is a chronic problem you face. Increase the brightness of your images so that they look a little overbright on the screen and add some post-production sharpening. Some images require quite a lot of sharpening and what looks overdone on the screen can look okay in the print, but be careful not to overcook it. An over-sharpened print just looks bad, much worse that a slightly soft one.
It is a large and complex subject and what I am suggesting here are experiments for you to try. Check your results, do not ‘wing it’.
My images are flat: images that ‘pop’ usually have at least two things going for them: they show the subject in good light and the subject and background are easily differentiated. In relation to this last point clean backgrounds are often the best. Adding contrast to the mid-tones and selective saturation in post-production can also help.
The final word
My mentor Richard I’Anson, undoubtedly one of the great travel photographers, gave me four simple rules. Good travel images, he said, must be (a) technically perfect, (b) creatively shot, (c) of an interesting subject and (d) well developed (in post-production).
I still write those four things on the flyleaf of every travel diary I use.
Finally, the best photographers are patient. Great photographs rarely just happen; they are the result of planning and the application of learned skills and considered judgement.
In the case of photography, patience can indeed provide its own, very tangible, reward.


