
A few simple steps are required to prevent yourself from looking like a fool when leaving or entering a harbour on a yacht, as Alan Punch, an RYA Navigation Instructor with Navathome Australia, writes.
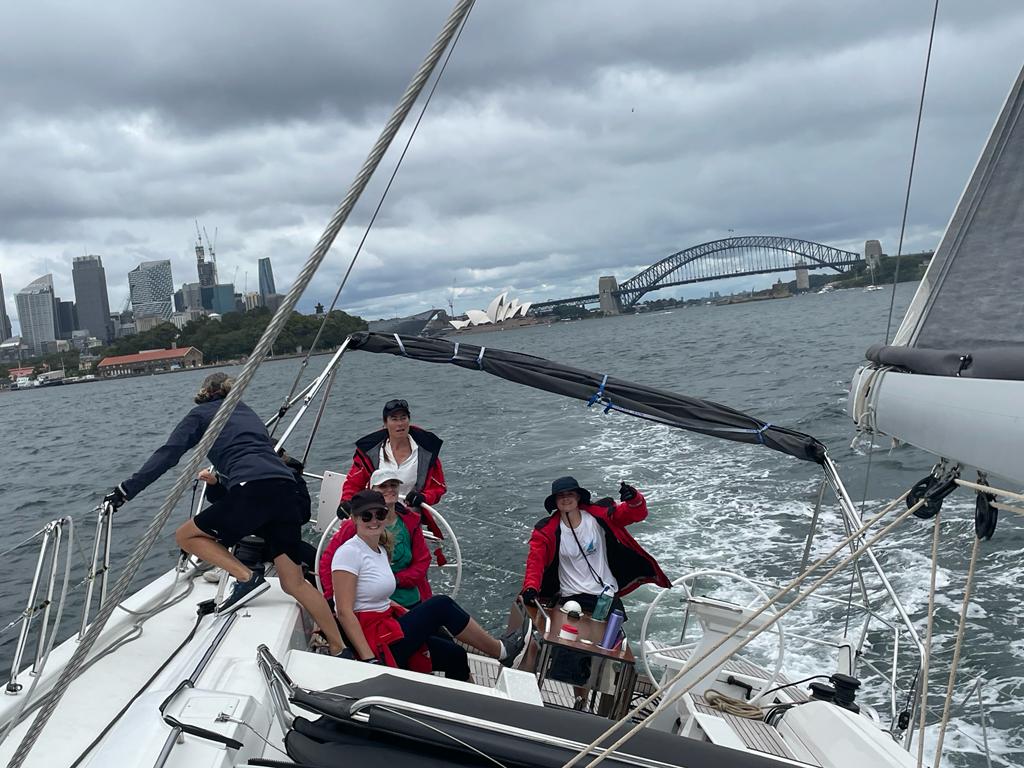
Going out on a boat means that at some point you have to exit and enter a harbour. This is often the most interesting time for many as you get the perspective of the land passing by, and close interaction with other boats, and overall the water conditions are usually protected and comfortable. But navigating through the harbour also means you have close proximity to shallow waters, hidden obstacles and overhead obstructions.
Navigating through the harbour should be a relatively simple process, especially if you know the harbour well. But if it is the first time you have been there, and if there are narrow channels, commercial shipping, and large tides then there can be a bit more going on and you don’t have as much time to deal with a mistake as you would in open water.
Running into a hazard in the harbour at the start of the trip is, at best, embarrassing and slows you down. At worst it is a bad early end to your day and there is a new submerged hazard. Running into a hazard at the end of the trip when you are tired and looking forward to that cold beer is often more likely.
Areas with large tidal movements add additional challenges as some passages become impassable at low tides, and you may not have enough clearance under overhead obstructions. With high tidal movements, running aground can mean that the boat is going to be left dry and you will need to race to secure it for when the tide comes in.
Being aware of the hazards, knowing the safe passages and the impact of the tide makes all the difference. If you are entering the harbour for the first time, then a small amount of planning makes all the difference.
The offhand comments from people stating that they will just follow the GPS and stay in the channel does not fill me with hope when I step on board. Often the accuracy of a typical GPS in a harbour can be in the range of 20-30 metres which is wide enough to lead you outside of a clear channel, or to not alert you that you are heading to an unmarked hazard. It also means that you are steering with your eyes focused too much on a screen and not looking out of the boat to see what is going on which also ruins the fun.
Local authorities know that manoeuvring in a harbour is risky. There are unseen hazards, narrow channels to follow with a small margin or error, multiple interconnecting channels, and in areas with large tidal movements, the height of tide can impact whether you can get through a channel or under a bridge with your dignity intact. To prevent the sight of photos of boats aground out the front of a nice harbour, they put in:
- Channel markers
- Transit markers
- Cardinal markers
- Tidal gauges
- Clearance heights
- Safe water markers
If you are suddenly feeling a bit unsure of your navigation marks, we have made a free buoyage mark interactive page available at Navathome Australia that every one can access.
These visual aids are the best reference you can rely on when it comes to pilotage. You don’t have to worry about failure of the electronics, you don’t have to bury your face into a screen, The trick is to understand how to use the individual navigation aids to link together to make a passage. Visual navigation aids are brilliant. When followed properly they visually demonstrate a clear passage much like a road. This means that you just have to follow your eyes and the navigation marks and you will be in the clear.
Skippers experienced with any particular harbour will navigate exclusively off the visual aids purely from memory. They are proven over time to provide a reliable passage and so the skippers will have followed the same route many times.
As you move through a harbour for the first time, it gets a bit harder. The sights from a new harbour make it difficult to work out where to find the navigation marks. Getting confused is easy, and you can easily miss a specific passage which makes it tempting to try a shortcut to get back on track. Sometimes the short cut works fine, other times it is a path into shallow water.
All you need to do is look at a chart, or local guide to work out the best approach. Local guides often have the benefit of local hints that have never been transferred to charts and these are invaluable. These hints are often the result of hard won experience based on what local people have seen. You can not measure how usefull these are. All this information combined will help you put together a planned route as to how to get into the harbour. Guides are often updated more frequently than charts and some of the information I have come across includes:
- Submerged dredging pipes that have been left on the seafloor but are not shown on the channel.
- Moving sand banks as a result of a storm that can impact a channel.
- Warnings about rough water areas in certain conditions.
- Awareness of popular sports for crab pots that create obstructions with trailing lines.
Combining the information lets you think about a plan, but a plan is effective only if people know it. If all members of the crew are new to the harbour, then you need to have a way to share the plan.
The perfect plan is useless if it is only in your head and you happen to become severely seasick. It means that your crew may be forced to work out a route on the way. This is obviously not ideal so if you can put your thoughts on paper beforehand in terms of a mudmap that easily to take on deck, then you are giving your crew a fighting chance. You could use your very expensive navigation chart, but it is a bit big to have on deck, ruined if it gets wet, and often has more detail that is not needed.

If tide or weather is important, you can add some key information. If the area has poor lighting you can identify that. It doesn’t have to be to scale, or use standard symbols, it just has to have the information relevant to you.
In terms of creating a MudMap, Google Maps satellite view has become my new best friend. You can pull up an image of the harbour, you can mark the key navigation aids and transits and plot your route. It helps give a real world of perspective of what things will look like.
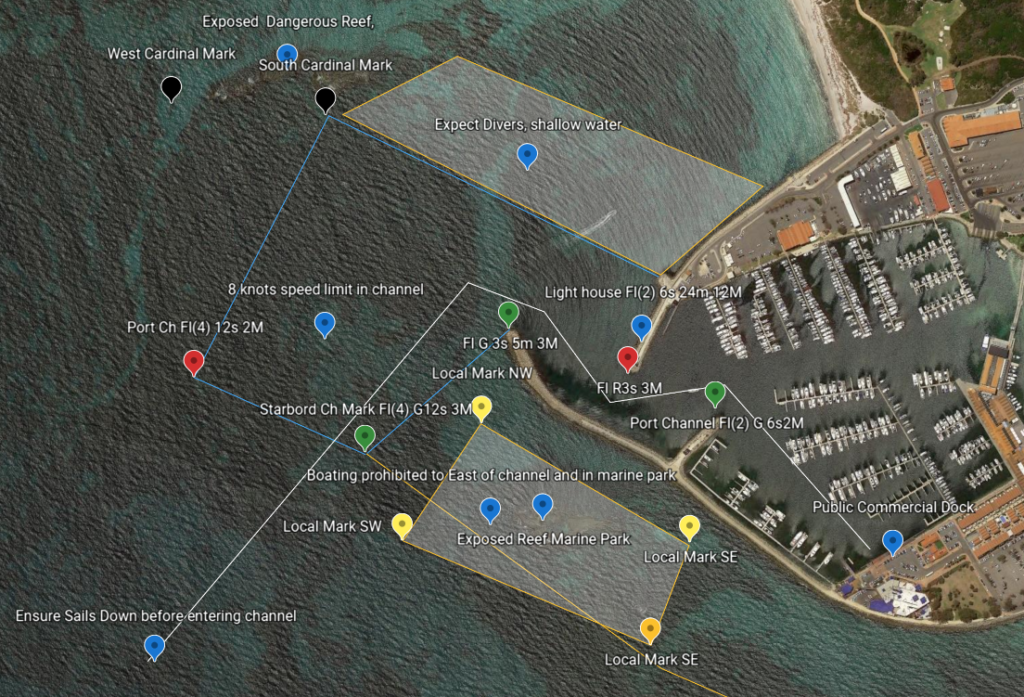
With a bit of planning, pilotage can make you look like a master coming into a tight space, confident and well aware of what is going in. It is great if you are trying to impress with your boating skills. In reality, all it took was a few minutes thinking things through and looking at the chart and any local information you can find.
For access to a free glossary of nautical terms, see: https://www.navathome.com.au/terms/a.aspx
Alan Punch is an RYA Navigation Instructor with NAVatHOME Australia, an RYA accredited training provider, and has a degree in Instrumentation and control system engineering.


